New Kids On The Block: The Lazy Girl DIY of How To Block Your Projects
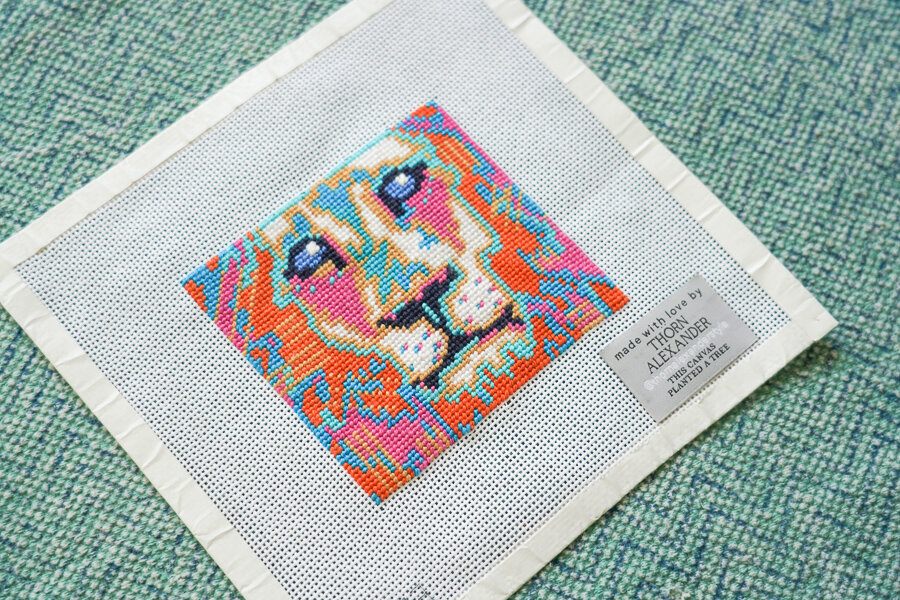
If you’ve been around the block a few times, you’ve probably heard the term, “blocking.” Blocking is part of the finishing process by which the canvas is realigned to work out warps and kinks. Sometimes the stitching process causes the canvas to no longer be perfectly straight, square or round- so blocking can get things back in order.
While finishers and stitchers do everything from brewing homemade rabbit glue for binding to simply popping it in a frame from Anthropologie and everything in between, I tend to go for a middle of the lane method.
I typically leave it to the professionals and have never had an issue with my needlepoint coming back perfectly blocked. However, now that I live in an island in Canada, my limbo pile is climbing to the point where I felt like it was time to try it for myself.
There are all kinds of ways to go about it, but this is a method that I found worked well for me. Just like everything else, it’s about what works best for you!
Should you wish to try this for yourself or to learn a little bit of the hard work behind the scenes, I highly recommend that you don’t practice on your absolute favorite project. Perhaps practice on a scrap that you have stitched up with your leftover stash or an ornament that you’re fond of, but but not in love with.
You will need:
T Square, protractor or gridded square ruler
Steamer or clean, spray bottle with water
White, clean towel or paper towel
Padded wooden board with grids and measurements
Pins or tacks
Needlepoint canvas
Fabric Glue (optional)
Water (optional)
Wide Paintbrush (optional)
Instructions:
1. Set your blocking board in front of you on a designated surface
2. Locate your needlepoint and paper towel
3. Place the towel on the board
4. Lie the canvas face down on the board
5. Steam or spray the canvas slightly to loosen up the sizing that keeps the mesh stiff.
6. Line up the canvas to the best of your ability so that you can align the canvas along straight lines- these will act as guidelines to make sure you pin your canvas properly
Side note: Work in opposite sides and corners. This helps you make sure no one side is too favored and that you can achieve as straight lines as you can.
7. Place your “North” pin into the top of the stitching, just on the edge between stitched and not stitched in the middle of the perimeter. Make sure it is set in place.
8. Tug on the end of the canvas towards you so that your canvas is taught and straight just right. Place another “South” pin directly below the top pin on this bottom perimeter.
9. On the left or right side, stretch the canvas and pin half way down so that it is taught and straight. Now pin a pin on the other side, anchoring your East and West.
10. Now start pinning on opposite corners of the outermost stitches in the perimeter for your NW, SE \\ NE, SW, making sure to do opposite corners.
11. Take time to toggle from side to side and corner to corner. Pull slightly here and there until you get it just right. Feel free to take your time and keep tweaking pins. You may use as many pins as you like that makes you feel confident in the alignment. I like to pin ever 7-10 stitches.
12. Once you have finished your pinning, take a moment to check your work and make tweaks as needed
13. On a disposable surface, pour a little bit of fabric glue.
14. Take your paint brush and dip it in your water cup.
15. Mix this water and your brush with the glue on your palette until you have a liquidy, thin glaze.
16. Lightly paint a thin layer over your stitching. This will bind your work to make sure it doesn’t pull once finished. It will also keep your hard work of blocking in place. You really don’t need much as you don’t want the glue to go through. Your goal is to slightly dampen the material with a thin layer, do not drench or soak.
Once the canvas has dried (in desperate measures, for small projects I have used a hairdryer), you are ready to rock! As exciting as it can be to see your stitching, do not prematurely remove your project from the board.
If you use sharpie, there’s a strong chance that the Sharpie will reactivate and bleed once it comes into contact with the glue.


