Let Me See That French [Detail]: A Step-By-Step Visual on How To Needlepoint The Perfect French Knot Stitch

The French Knot is a beautiful technique that can add a lot of dimension and texture to an otherwise two-dimensional needlepoint piece. Although I grew up watching my mother tie knot after knot my whole life, it wasn’t until last summer that I learned for myself! While stitching and sunning on the beach in Bermuda before a dear friend’s wedding, Jessica from Lycette gave me a quick demo!
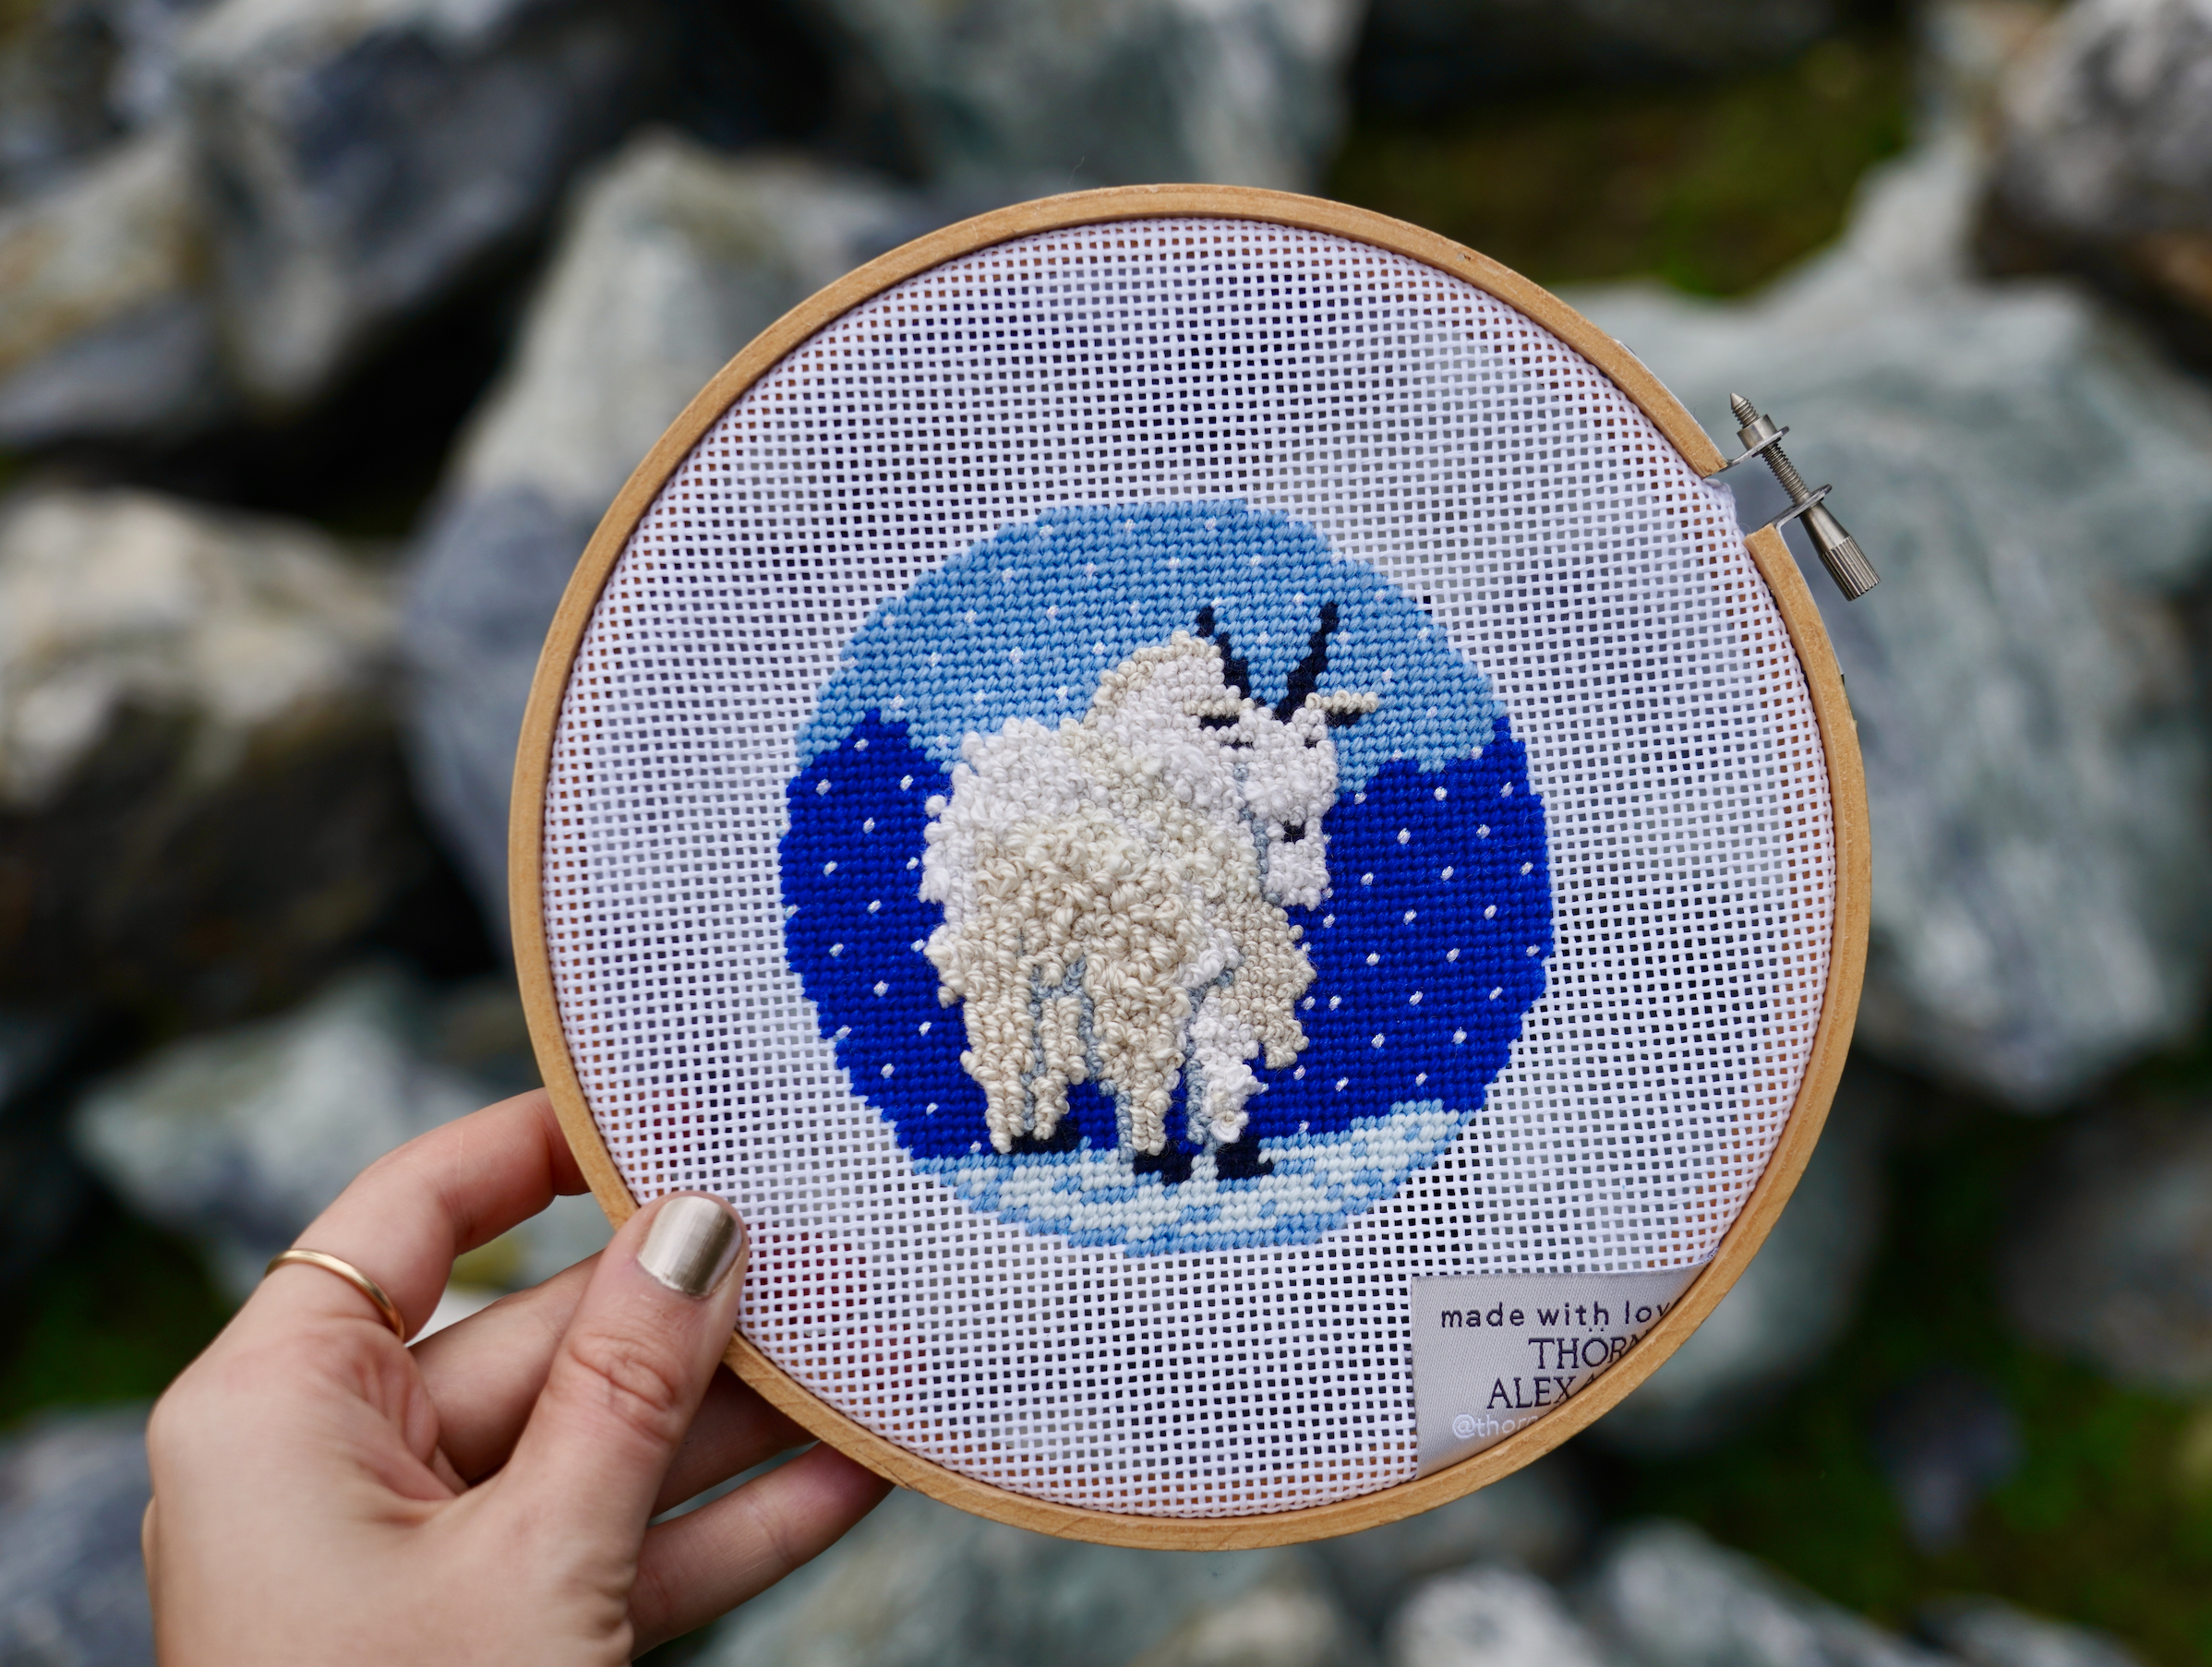
I have knotted a lot of french knots since then (including for our Marty The Mountain Goat above and am excited to share with you a step-by-step process. Through practice, trial and error, I discovered that if I held my thread in a certain way, I could have control on how neat I wanted my knot to be. I am sharing this technique below.
The beauty of this technique is that it’s kind of a free for-all! You don’t have to knot every single stitch and you can add as many loops or looseness in your stitch depending on what you’re looking for! For the mountain goat, for example, I added both tightly curled knots as well as straggly curls to give it that fluffy coat, look! For other projects, I have used them as a replacement for beading to give some definition.

For this piece by Abigail Cecile- I basketwove all of my stitches and then went back and added french knots for the flowers. It was a fun way to add a little sculptural texture for this project that I made for my future Mother-In-Law for Christmas! (Will post the progress of this canvas in the future).
Getting Started

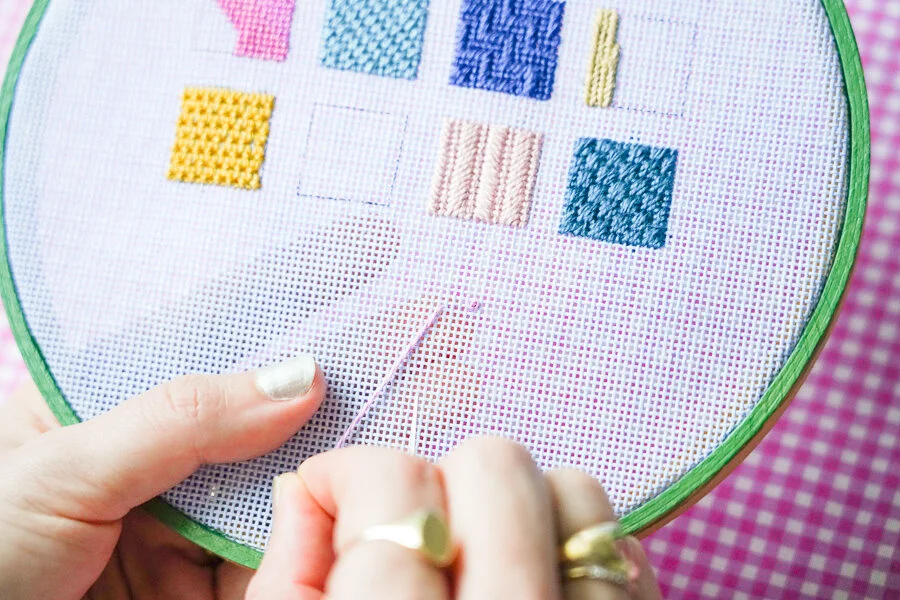
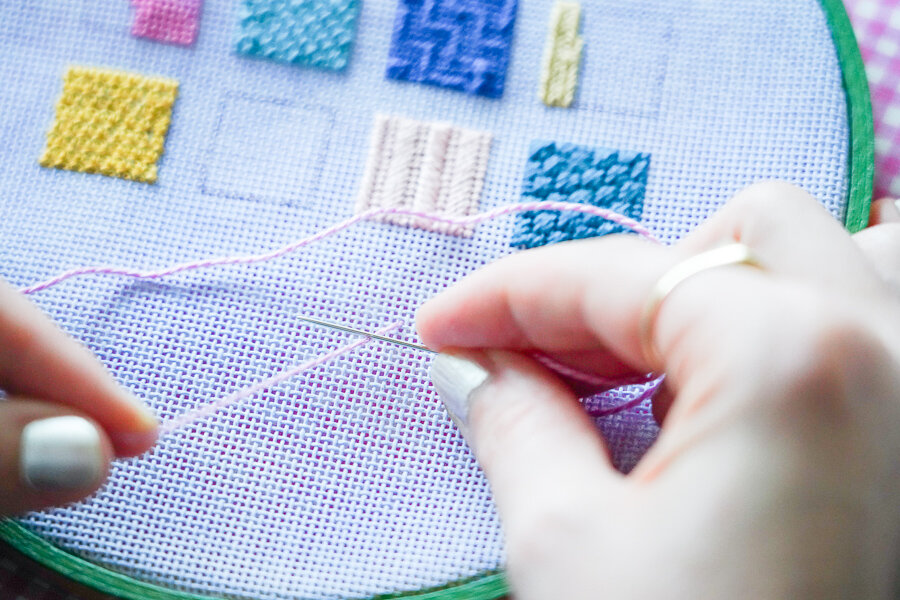
There are no special tools for this project! Simply your canvas, thread and a needle. I am stitching this tutorial on a sampler I made. This will be written about at a later date- but it is 18 mesh stretched and cut on a hoop frame. I figured I would doll it up once completed and keep as is. More on that later…
While this technique can certainly be done in-hand, I do find that I prefer a frame.

To start your stitch, come up the bottom left as you would normally.
While pulling on the thread slightly, rest your threaded needle on top so that the needle faces left.

Wrap the thread with some even tension so that you have one full loop around your needle.

Once you have completed your loop, be sure to keep a grip on the thread you just wrapped with. This will keep the loop in place and give you control over how it will look when complete.

While holding down the fort, carefully complete your stitch by sending the needle towards the back via the top right of the stitch.

Pull the needle through and keep a finger from the other hand on the loop you have created.

Keep an even release tension in your left looped finger while you pull with equal tension with the needle armed hand. This will keep the knot close to the canvas and make sure it isn’t taught until you are finished.

Keep going.

For a perfectly neat knot, continue this method until the very last second.

If you loosen up throughout, the knot will form earlier on and leave more bulk of a loop on top. This can be a great look for beards, animal fur and bunches of plants!
A cleaner knot is great as a substitute for beading, florals, nipples and more!

You did it! If it didn’t quite turn out as you had hoped, unwind and try again! You can do this.
If you want to add more height to your stitch, experiment looping the thread multiple times like you would with a fishing hook!